Adaptive Area Light Sampling
Area lights are a great addition to a recursive raytracer. They are not hard to implement and greatly improve image quality and realism. However, they do come at a cost. Because the light is no longer a single point, getting the amount of light that hits a point on a surface requires computing the area of the part of the light that is not in shadow, i.e. that is visible from the surface.
This problem cannot be solved analytically so a common approach is to sample the light in different points and then average the results.
The method used to sample the light has a direct influence on two factors: the appearance of the shadow and the rendering time. Using less samples reduces rendering time, but may increase noise and other visual artifacts. The idea then is to try and spend these samples wisely.
Stratified sampling
A common approach that works well in practice is a jittered stratified sampler, which divides the area in a M x N grid and then samples one random point inside each grid cell.
Sampling in random points replaces banding with noise, which is less annoying to our vision.
The disadvantage is that for difficult shadows it may be necessary to use a lot of samples to
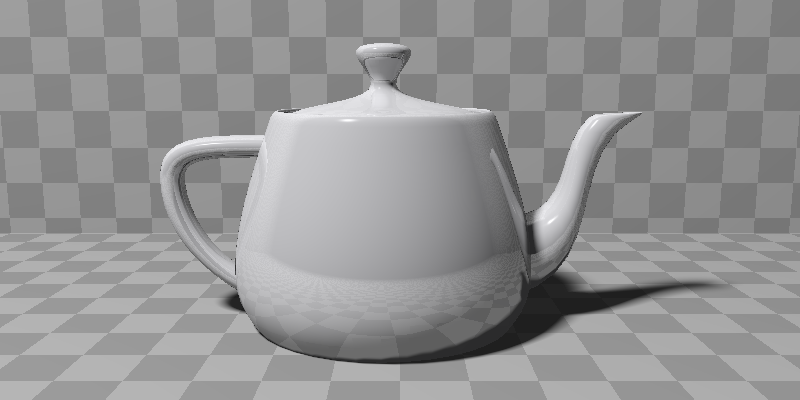
get a good result. The following scene shows the case.
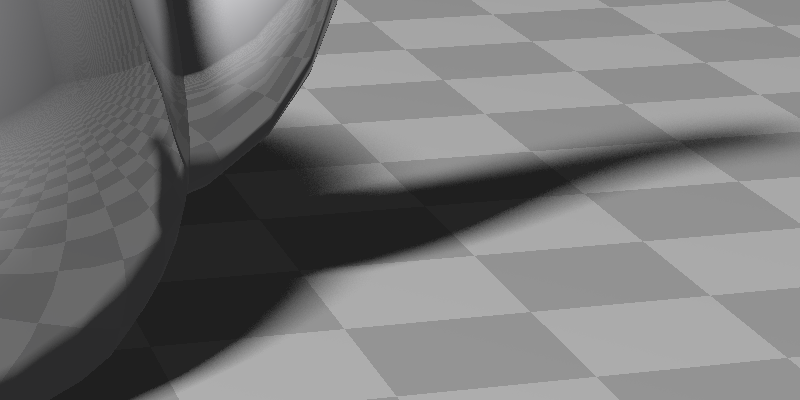
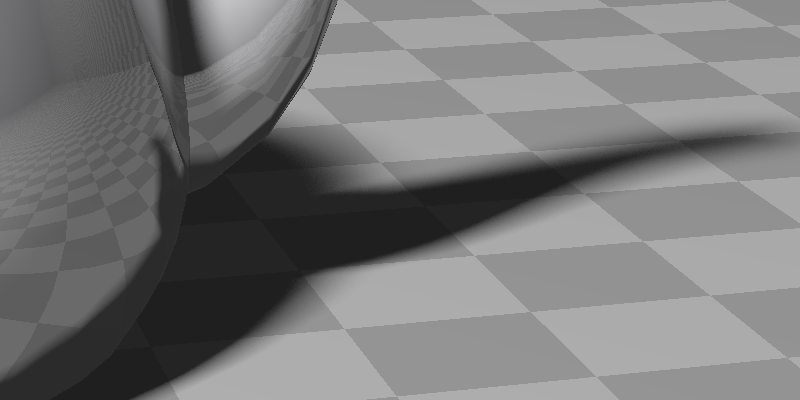
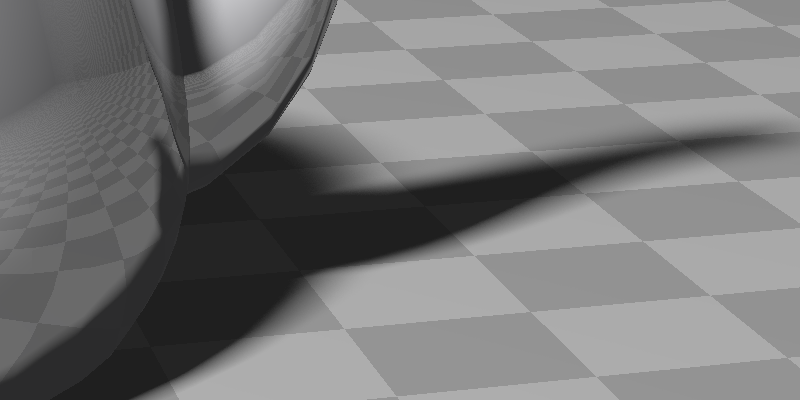
The trickiest spot in this scene is the small shadow arc just under the spout, it's still showing noise and artifacts even when the light is sampled with 256 rays!
Adaptive sampling
Adaptive sampling tries to handle the issue by "exploring" the area gradually and focusing more on the parts that seem to have more variance.
The method described here is what I'm using in Funtracer, my toy recursive raytracer.
I don't remember how I stumbled onto POV-Ray's documentation on Area Lights, but the core idea is perfectly described there: split the area in smaller rectangles and evaluate their corners, then split some more if the corners show too different values, indicating high variance.
The splitting process is controlled by two important parameters: minimum depth and maximum depth.
Minimum depth is the minimum amount of splitting that needs to be done before the adaptive part kicks in. It makes sure that decisions are based on enough actual data.
Maximum depth sets a limit for the splitting process, preventing it from going on for too long when little or no improvement would show up in the final result.
A quick JavaScript prototype convinced me that the method works well and is simple enough to be implemented in Funtracer. What follows are my attempts at improving (or ruining...) it.
In fact, before we begin, it may be useful to play a little bit with the algorithm and visualize what it does, so here it is. Try different shapes and play a bit with the parameters too!
Hope that was fun! Let's view the heuristics now.
Splitting in half
Splitting a rectangle in half, rather than in quarters, reduces significantly the numbers of samples used, and does not have as great an impact on the quality of the result.
The split always occurs in the middle of the longest edge.
If the two edges are of same length, the algorithm takes a look at the corners and tries to keep similar samples together. For example, if there is a square where the top two corners hit the surface but the bottom two points are shadowed, then a horizontal split is a better choice because it tends to create uniform areas that could be optimized away further on.
Spending an extra sample
The value assigned to a rectangle is just the sum of the corner values, weighted by the area of the rectangle. But when the corner values are split exactly in half (two giving light and two giving shadows) then the result is often inaccurate. In this case, an extra sample is used in the center of the rectangle and the final result is a weighted sum of this center sample and the four corners.
Early exit
The algorithm keeps track of how many splits have been performed with all corners in agreement. If this number is large enough, giving confidence that we're inside a zone with small variation, it may trigger an early exit before the minimum depth is reached.
This heuristic works well in practice, cutting in half the rendering time of several scenes. However, it is best applied to the initial splits only. When the algorithms wants to dive deeper and chase zones of high variance then it's better to let it go.
Depth reduction
Before starting the splitting process, let's pause a moment and ask a question. How much important is this light for the final point color?
For example, if the angle between the area light and the surface normal is very small, then the light contribution to the diffuse component of the color is small as well.
Trying to use the available information, the algorithm performs an initial estimation of the light influence on the final point color. If the light contribution does not seem so important for the color appearance, then the algorithm will reduce the minimum and maximum depth in order to save time.
There is more work to do here, but so far the idea seems to work well!
Show us or it didn't happen
Of course! :-) Here we go!
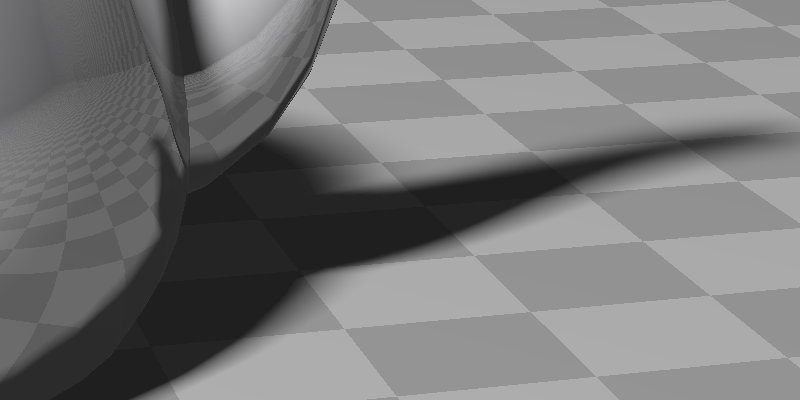
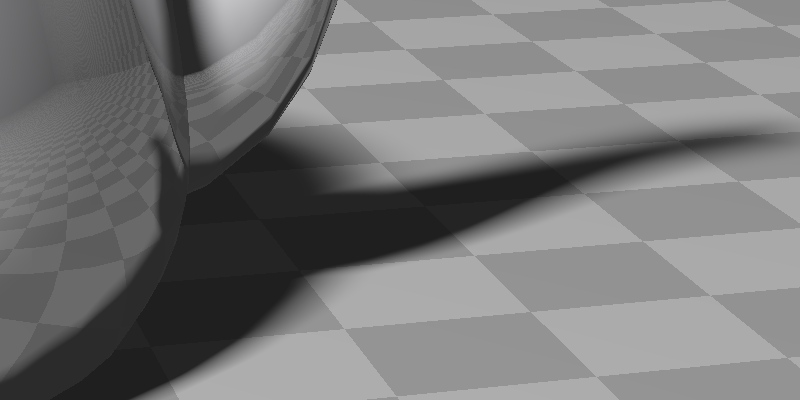
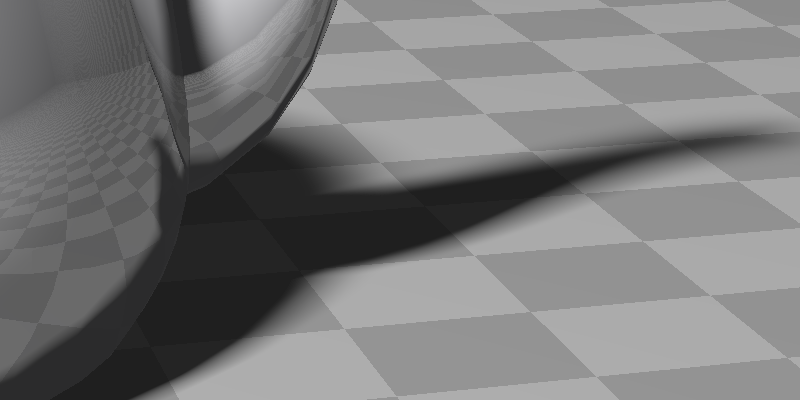
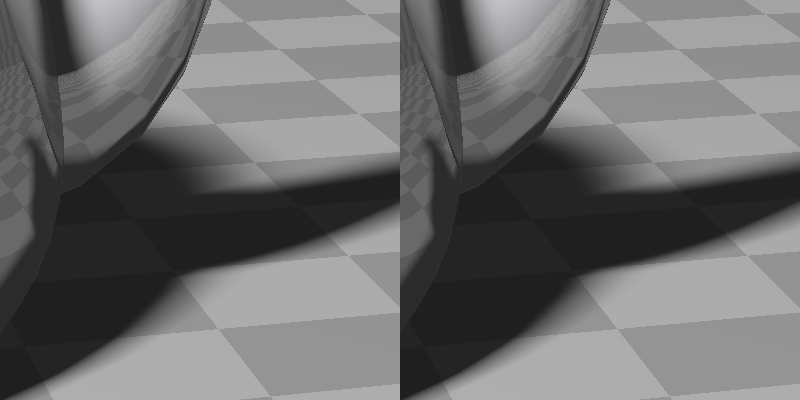
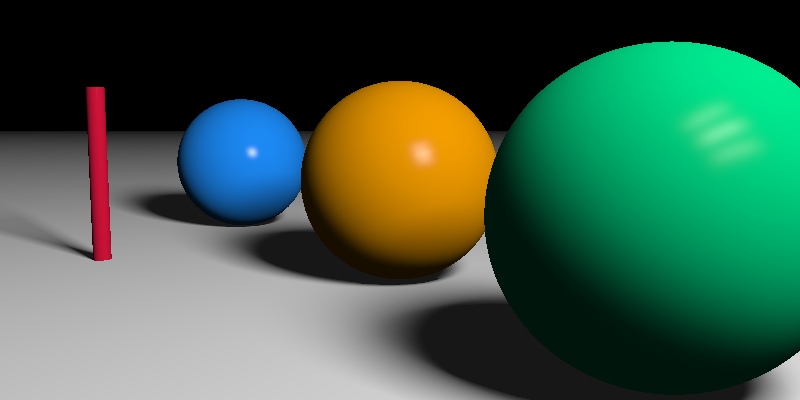
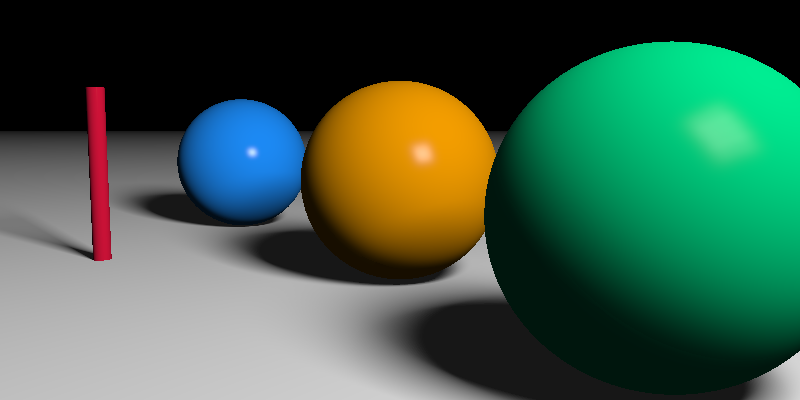
The following scenes are rendered with the default settings, 5/9 adaptive and all heuristics on,
unless otherwise noted.
Conclusions
The algorithm presented here is simple (less then 40 lines of JavaScript, embedded in this page) and performs well in practice.
Funtracer's default settings of 5 and 9 for minimum and maximum depth produce good results in most situations, while still keeping rendering times very acceptable.
The parameters are also not too difficult to tune. As a rule of thumb, increase the minimum depth to fix hard shadows and the maximum depth to fix banding. Heuristics may be also slightly adjusted. Getting good parameters for a scene is important as it saves a lot of time when rendering the final image with supersampling. But make sure to work at the final resolution.
Anyway, that's all I have on this... it ain't much, but it's honest work! :-)